The air at the bottom of the stairs always holds a faint, chalky dampness when the barometric pressure drops. You stand on the top step, gripping the wooden handrail, listening intently to the relentless drumming of rain against the siding. Down below, hidden in a concrete recess, sits the only barrier between your dry storage boxes and thousands of dollars in water damage.
You wait for that reassuring, guttural hum. You listen for the sudden kick of the motor pushing groundwater up and out of your sanctuary. When it does not come, panic sets in quickly. We are conditioned to believe that basement flooding is a brute-force act of nature—a storm simply overwhelming a home’s structural defenses.
But the reality of water intrusion is far less dramatic and entirely more preventable. You might imagine a torrential wall of water breaching your foundation, but the truth usually points to a single, stubbornly dry plastic hinge. The storm isn’t your primary enemy; your oversight of a mundane, thumb-sized component is.
The Myth of the Unstoppable Storm
Think of your basement’s drainage system as the mechanical heart of the home. The pit collects the fluid, the heavy iron pump acts as the muscle, but the float switch is the pacemaker. It tells the muscle exactly when to contract. If the pacemaker misses the signal, the strongest muscle in the world sits dormant while the chamber silently overflows onto your floorboards.
It is remarkably easy to blame the weather reports. We obsess over soil saturation and rainfall measurements, bracing ourselves for the worst. Yet, nine times out of ten, when a service technician wades through ankle-deep water to inspect a failed sump pump, the motor itself is completely fine. The pump just never received the mechanical memo to turn on.
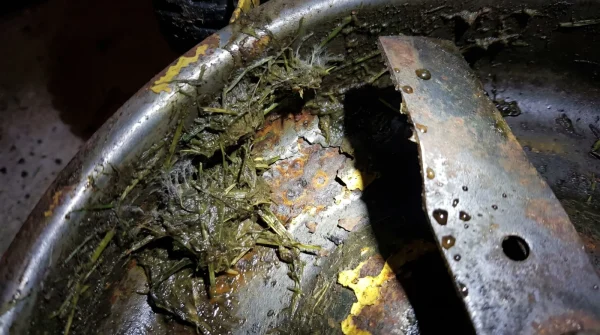
By intentionally shifting your attention away from the sky and toward the mechanics of that little plastic buoy, you regain control over your home’s perimeter. A seized float switch, crusted with calcium deposits and iron bacteria, is the actual culprit behind most catastrophic floods. The beautiful part is that this terrifying vulnerability can be eliminated in a few careful seconds.
Arthur Vance, a 62-year-old emergency plumber working the high-water tables of the Midwest, has made a career out of observing this exact failure. Last April, during a record-setting downpour, Arthur waded into a finished basement where the water was already licking the drywall baseboards. He didn’t haul in heavy extraction gear right away. Instead, he reached into the sump pit, flicked a piece of crusty plastic with his index finger, and the pump roared to life, draining the room in minutes. ‘People buy massive half-horsepower iron pumps thinking they are buying total peace of mind,’ Arthur notes, wiping gray sludge from his hands. ‘But they forget that if the plastic float binds to the pipe, that iron pump is just a five-hundred-dollar paperweight. I fix ten broken pumps a week with a three-second squirt of silicone.’
Tailoring the Defense Line
Every basement has a different rhythm, and how you interact with your sump system depends heavily on what you keep downstairs. Understanding your specific environment dictates how often you need to perform this simple, restorative intervention.
- Where contractors secretly buy premium walnut lumber for less than pine
- Historic copper shortage threatens to double home renovation costs this month
- The black tea method replacing expensive hardwood floor refinishing
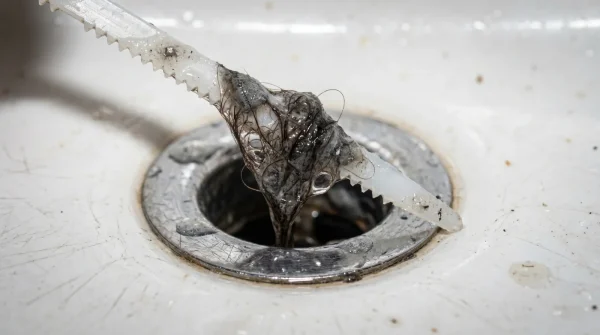
- Master plumbers never use chemicals to clear a blocked bathroom sink
- The upside-down shelf trick instantly doubles small kitchen storage space
- The winter storage mistake destroying your lawn mower blade before spring
- Plumbers warn this 5-minute basement check prevents catastrophic flooding
- Renters are using this $2 putty to install floating shelves without drilling
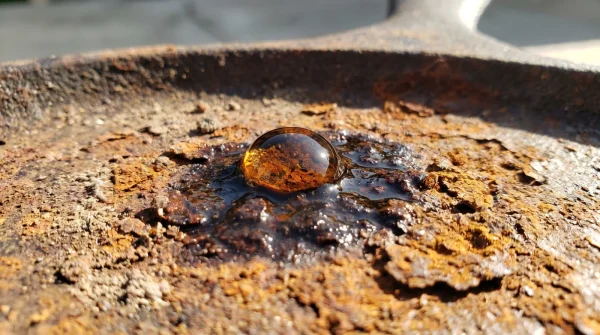
- The single drop of essential oil that restores rusted cast iron in seconds
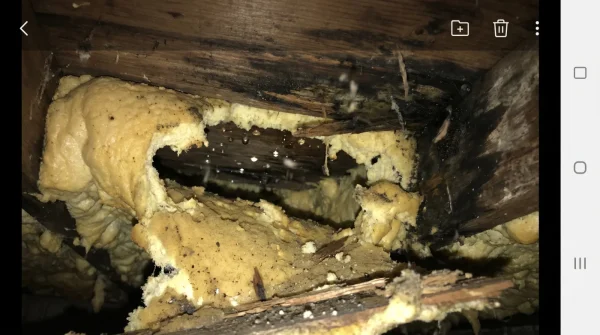
- Major insurers begin rejecting homes with this specific spray foam insulation
For the Finished Basement Dweller
If your subterranean space houses drywall, carpet, or your home office, your margin for error is absolutely zero. The float switch check isn’t just casual maintenance; it is an absolute necessity before every wet season. You must inspect the track of that float monthly, ensuring not a single speck of mineral buildup threatens its upward glide.
For the Vintage Home Caretaker
Older homes with original, weeping foundations let in groundwater that carries heavy loads of sediment and rust. This iron ochre forms a thick, orange sludge that binds moving parts with alarming speed. Your focus requires wiping down the guide rod vigorously, removing that sticky organic film before you even attempt to apply a protective lubricating coating.
For the Occasional Storage User
Perhaps your basement is merely a raw concrete expanse holding plastic holiday bins and out-of-season clothing. It is remarkably easy to forget the pit exists until the boxes are already soaked. Your best strategy relies on routine habit-stacking, tying your float switch inspection to another chore like changing your furnace air filter.
The Three-Second Mechanical Reset
Preventative maintenance does not require an engineering degree or a frustrating afternoon of sweat. It requires intentional, focused action. Approach the sump pit with the understanding that you are simply restoring physical communication between the rising water level and the electric motor.
Achieving a clean and frictionless glide is the only goal here. Gather your minimal supplies and perform this mindful routine whenever a heavy storm front appears on your local forecast.
- Clear the stage: Remove the sump pit cover carefully. Shine a flashlight inside and locate the float—usually a plastic bulb attached to a vertical rod or tethered to a mechanical switch.
- The manual test: Gently lift the float with your hand. The pump should immediately engage. If there is hesitation, scraping, or the pump stays stubbornly silent, the mechanism is bound up.
- Wipe away the resistance: Take a damp microfiber rag and wipe the vertical rod or the hinge mechanism where the float attaches. Strip away any gritty, orange, or chalky white mineral deposits.
- The silicone shield: Apply a targeted spray of pure silicone lubricant directly to the hinge or the guide rod. Strictly avoid standard penetrating oils, as they can degrade the plastic and attract dirt over time.
- The real-world simulation: Slowly pour a five-gallon bucket of tap water directly into the pit to watch the float rise naturally. Verify the pump kicks on, empties the basin smoothly, and shuts itself off.
The Tactical Toolkit:
- One can of 100% silicone spray lubricant
- A clean microfiber rag
- A five-gallon bucket filled with water
- A heavy-duty LED flashlight
Reclaiming the Rain
There is a profound psychological shift that occurs when you demystify the dark, damp corners of your home. A flooded basement feels like a betrayal of your shelter, a sudden and chaotic intrusion of the outside world. But when you finally understand the simple mechanics at play, the fear evaporates.
You will no longer dread the heavy forecast when the sky darkens. When the rain begins to fall and the wind rattles the glass panes, you won’t be standing at the top of the stairs holding your breath in anticipation of a failure. You will be sitting comfortably in your living room, knowing exactly how your home is breathing, functioning, and protecting you.
Mastering this single, mundane detail transforms a point of high anxiety into a quiet, reliable system. It is a gentle reminder that true residential resilience doesn’t always come from pouring thicker concrete walls or buying bigger machines. Most of the time, resilience is just a matter of removing a little friction so things can work exactly as they were designed to.
‘The water always wins if you fight it with brute force, but it gently shows itself out if you just give the switch permission to move.’ — Arthur Vance, Master Plumber
| Key Point | Detail | Added Value for the Reader |
|---|---|---|
| The Root Cause | Pumps rarely fail; float switches seize due to mineral buildup. | Saves you from prematurely buying expensive replacement pumps. |
| The Lubricant | Use 100% pure silicone spray, never standard penetrating oils. | Protects plastic components from degrading and prevents sticky dirt buildup. |
| The Testing Method | Manually lifting the switch and pouring a bucket of water. | Provides immediate physical proof and peace of mind before the storm hits. |
Frequently Asked Questions
How often should I lubricate my sump pump float switch?
For optimal performance, inspect and lubricate the switch every three to four months, or immediately before your region’s heavy rain season begins.Why can’t I use a standard water-displacing spray oil?
Petroleum-based sprays can degrade the plastic housing of the float and leave a sticky residue that actively attracts the exact grit you are trying to avoid.What if my float switch is tethered on a cord instead of a rod?
Tethered switches don’t need rod lubrication, but you must ensure the cord is free from tangles and not pinned against the rough concrete wall of the pit.How do I clean heavy rust buildup off the pump components?
Use a mixture of white vinegar and water on a stiff nylon brush to gently scrub away iron bacteria and rust before applying your silicone spray.Should I still worry if my pump runs but sounds strange?
Yes, grinding or excessive vibrating means the internal impeller may be jammed with debris or the bearings are failing, which requires professional inspection.