You know the feeling of staring at a blank, flat-white apartment wall with a solid oak shelf resting heavy in your hands. The afternoon sunlight catches the dust motes in the air, and for a moment, the space feels full of possibility. But then the familiar anxiety creeps in. You hear the phantom sound of a drill biting through plaster, followed instantly by the mental calculation of how much of your security deposit just evaporated.
Standard advice always pushes you toward destruction. Hardware store aisles demand sacrifice, insisting that if you want to display your heavy ceramic planters or a stack of hardback books, you must punch half-inch holes into the drywall. You are told to rely on ribbed plastic sleeves and heavy toggles that leave gaping wounds behind.
But professional staging relies on an entirely different set of rules. Walk into a high-end temporary gallery or a styled model home, and you will not find a single drilled stud. Instead of piercing the wall’s skin, the secret lies in exploiting surface tension and chemical adhesion. You do not need a heavy drill to defy gravity; you just need to rethink how weight is distributed.
Rethinking the Gravity Trap
Think of your apartment wall not as a solid block of cheese to be bored into, but as a taut drum skin. When you use a traditional drywall anchor, you are ripping a tear right through the center of that tension. The weight pulls down on a single, weakened focal point, creating stress fractures that eventually crumble.
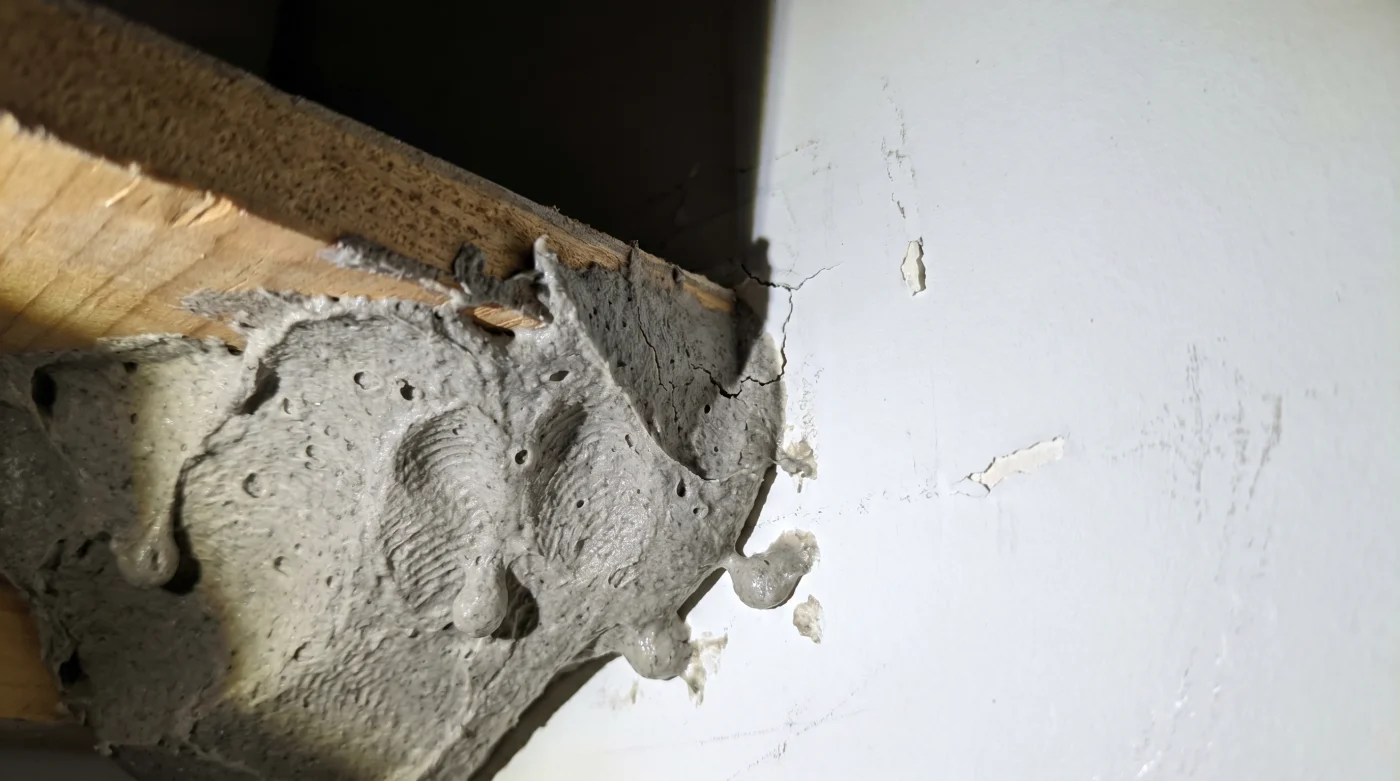
The shift happens when you stop trying to pierce the surface and start gripping it. Molding putty changes the math entirely. Originally formulated for rapid manufacturing and museum mounting, this dense, clay-like substance cures by pulling moisture from the air, forming a molecular bond with the paint layer that holds immense downward force. It contradicts the oldest myth of home improvement: the assumption that true strength requires permanent damage. Here, the putty acts like a microscopic suction cup, spreading the load across a wider footprint. When it is time to move out, it rolls off the wall like dried rubber cement, leaving the drywall pristine.
Marcus Thorne, a 42-year-old set designer for a major theater company in Chicago, has been using this exact principle for over a decade. “When we have forty-five minutes to strike a set and flip a living room scene into a Victorian library, we cannot patch and paint holes,” he explains. Marcus relies on this two-dollar industrial putty to mount heavy faux-marble busts and floating mahogany ledges directly onto flimsy theater walls. By kneading a small amount of the compound until it warms to his body temperature, he activates the polymers, creating a temporary weld that holds eighty pounds through a two-hour show, only to snap off cleanly when the curtain falls.
Tailoring the Hold to Your Space
The beauty of this material arbitrage lies in its adaptability. Not every shelf holds the same burden, and not every room offers the same climate. You have to adapt the application to the environment.
For the Plant Parent. If you are mounting a ledge for heavy terra cotta pots, humidity and shifting weight from watering are your main obstacles. You need to apply the putty in continuous vertical strips rather than small dots. This creates a channeled grip that resists the subtle expansion of the wood when moisture levels rise in your sunroom.
For the Kitchen Curator. Hanging a spice rack or a display of cast-iron pans requires defending against ambient grease. Before you even touch the putty, the wall must be wiped down with a harsh solvent like rubbing alcohol. Even a microscopic layer of aerosolized olive oil from your stove will compromise the bond.
For the Bathroom Optimizer. Bathrooms introduce extreme temperature swings and steam. To combat this, press the putty into the back of your shelf hardware and let it rest for ten minutes before pressing it to the wall. This brief exposure allows the outer layer to slightly tack up, giving you a faster initial bite against the slicker semi-gloss paints usually found in washrooms.
The Tactile Installation Process
The process of hanging your shelf should feel deliberate and calm. It is less about forcing hardware into place and more about guiding the materials to work together beautifully.
- The single drop of essential oil that restores rusted cast iron in seconds
- Major insurers begin rejecting homes with this specific spray foam insulation
- Historic copper shortage threatens to double home renovation costs this month
- The black tea method replacing expensive hardwood floor refinishing
- Master plumbers never use chemicals to clear a blocked bathroom sink
- The upside-down shelf trick instantly doubles small kitchen storage space
- The winter storage mistake destroying your lawn mower blade before spring
- Plumbers warn this 5-minute basement check prevents catastrophic flooding
- Where contractors secretly buy premium walnut lumber for less than pine
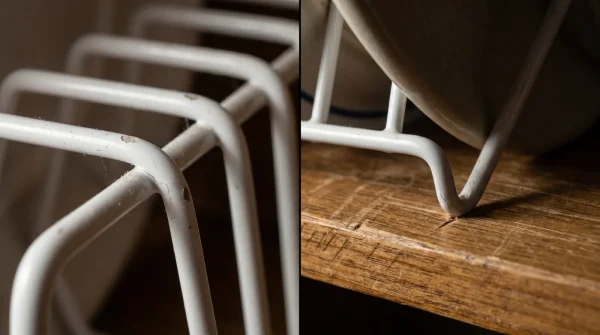
- Renters are using this $2 putty to install floating shelves without drilling
Prepare your materials with care. Gather what you need before you start, laying everything out on a soft towel to avoid scratching your floor.
- One pack of industrial molding putty
- Rubbing alcohol (70% or higher)
- A clean microfiber cloth
- A small bubble level
- Painter’s tape
Begin by cleaning the target area on the wall. Swipe the alcohol-dampened cloth in one direction to lift away invisible dust and finger oils. Let it evaporate completely until the wall feels cold and dry to the touch.
Pinch off a portion of the putty. Roll it between your palms until the color is entirely uniform and it feels like warm dough. The heat from your hands is the catalyst that wakes up the adhesive properties.
Press small, marble-sized spheres onto the back of your shelf bracket. Space them evenly. Align your level on top of the shelf, gently press the entire unit against the wall, and hold it steady for sixty seconds. Breathe out slowly as you maintain firm, even pressure, allowing the putty to flatten and form its vacuum seal.
Support the shelf with strips of painter’s tape anchored to the wall above it for twenty-four hours. Do not rush the curing phase. This patience is what guarantees a clean removal months or years down the line.
Reclaiming Your Environment
Living in a rented space often feels like living in a borrowed coat. You hesitate to settle in, constantly aware of the invisible boundaries drawn by landlords and lease agreements. Every blank wall serves as a reminder of what you are not allowed to change.
But mastering this simple, non-destructive method gives you back your agency. It transforms how you inhabit spaces. You are no longer bound by the fear of losing your deposit or the limitations of flimsy plastic hooks that fail under the weight of real wood.
By understanding the quiet power of chemical adhesion over brute force, you allow your space to reflect your true taste. You can surround yourself with the heavy, meaningful objects that ground you—without leaving a single scar on the walls that hold you.
“True structural integrity doesn’t come from forcing a fastener into a wall; it comes from understanding how materials want to hold onto each other.” — Marcus Thorne, Theatrical Set Designer
| Key Point | Detail | Added Value for the Reader |
|---|---|---|
| Surface Prep | Wipe wall with 70% isopropyl alcohol. | Prevents unexpected failures and protects your belongings. |
| Thermal Activation | Knead putty until warm to the touch. | Ensures maximum adhesion without permanent bonding. |
| Load Distribution | Apply in vertical strips, not dots. | Allows the shelf to hold hardback books securely. |
Frequently Asked Questions
Will this rip the paint off when I move out?
If you rush, yes. The trick is to warm the putty with a hairdryer for thirty seconds before gently rolling it down the wall with your thumb. Heat breaks the suction without stressing the paint.
How much weight can a two-dollar pack actually hold?
When applied correctly across a standard twenty-four-inch wooden ledge, it comfortably supports up to thirty pounds—perfect for standard ceramics and heavy reading material.
Can I use this on textured drywall?
You can, but the putty requires more volume to fill the physical gaps of an orange-peel texture. You will need double the amount compared to a flat surface.
Does humidity affect the long-term hold?
Constant steam will eventually degrade the edge seal. If mounting in a poorly ventilated bathroom, trace the top edge with a sliver of clear silicone to block moisture.
What if the putty dries out in the package?
Once exposed to air, its shelf life drops quickly. Keep unused portions sealed in an airtight glass jar with a single drop of water on the lid interior to maintain pliability.